
Nearly 60% of hiking injuries among older adults happen within the first mile of a trail, often because new hikers push too hard right out of the gate. You don’t need to be an athlete to enjoy hiking, but you do need a practical approach that respects your body’s current abilities.
The difference between a great first hike and a trip to urgent care often comes down to five straightforward decisions you’ll make before you even lace up your boots.
Choose Beginner-Friendly Trails That Match Your Current Fitness Level
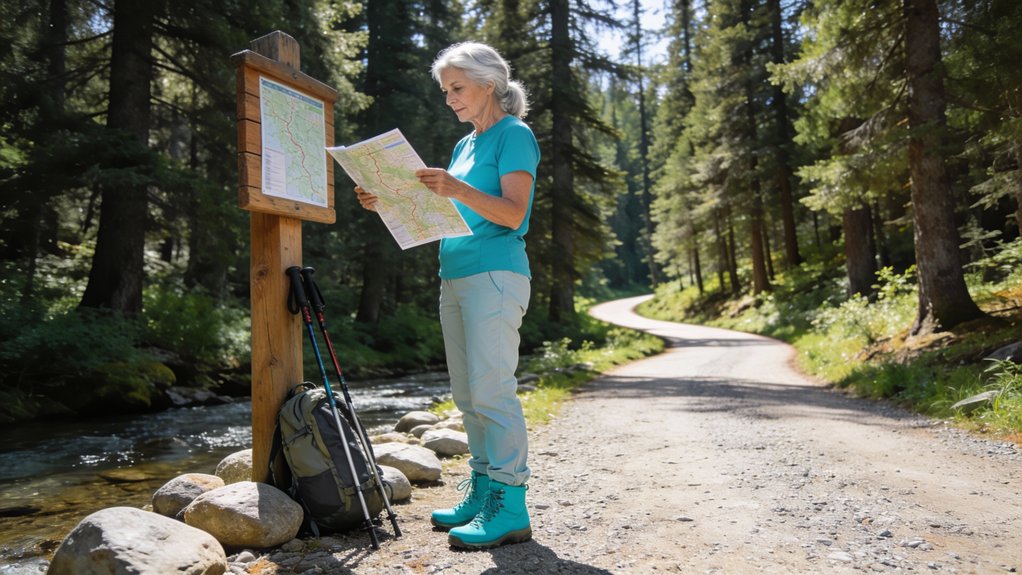
Where should you begin when you’re ready to hit the trails? Start with proper trail selection by researching beginner-friendly paths through resources like AllTrails.
Look for well-maintained routes under 3 miles with minimal elevation gain.
This fitness assessment matters: you’ll build stamina gradually while enjoying the experience. Check trail conditions beforehand to identify obstacles like roots or rocks that match your abilities.
Choose paths with clear signage and well-marked routes so you won’t get lost. Short distances let you take breaks whenever needed.
Understanding difficulty ratings will help you assess whether a trail matches your current fitness level and experience. These straightforward criteria help you find trails that offer adventure without unnecessary risk or frustration.
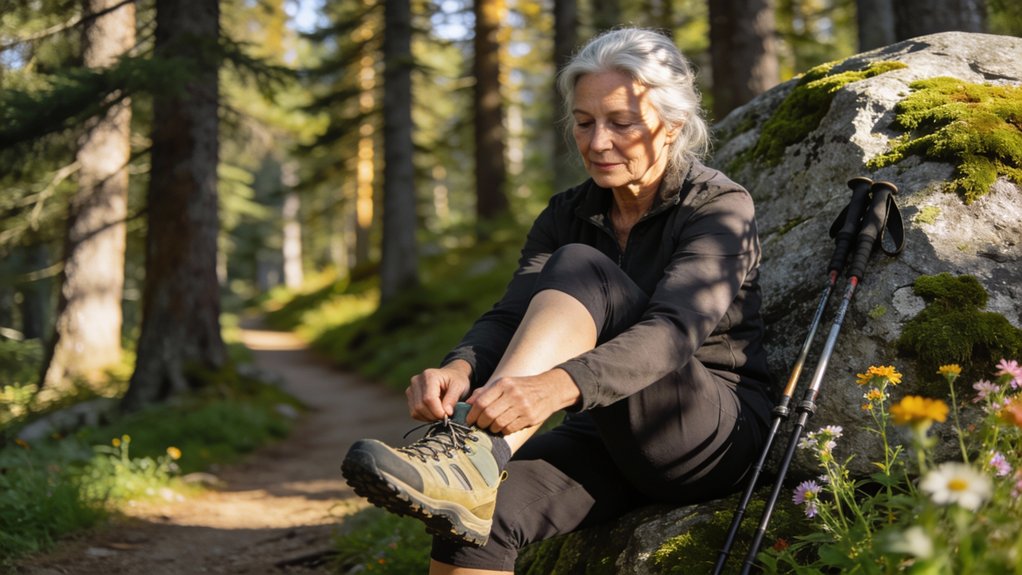
Wear Supportive Hiking Shoes and Use Poles for Better Balance
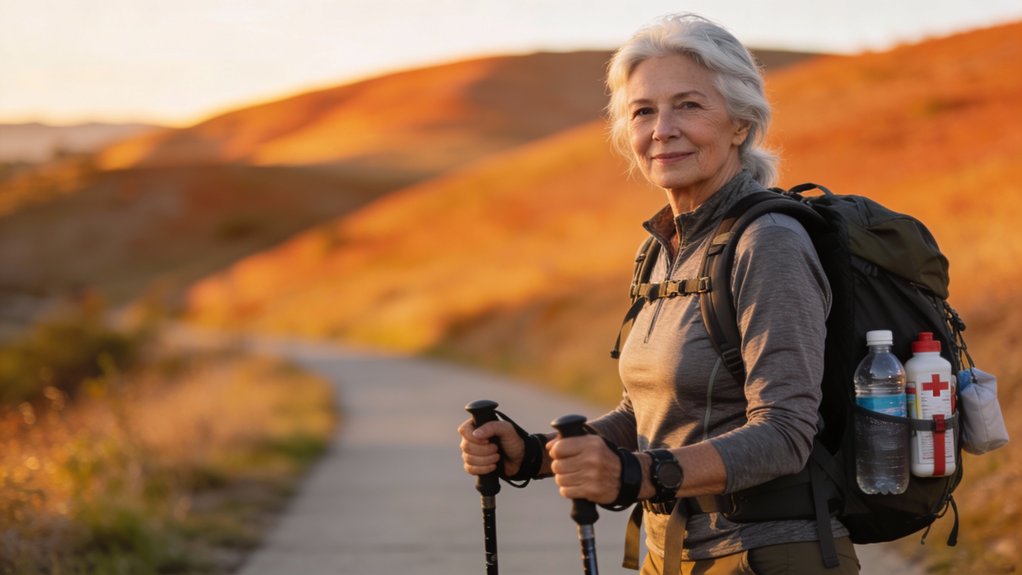
Once you’ve found your ideal trail, the right gear becomes your foundation for a safe hike. Your footwear matters most: look for hiking shoe types with solid ankle support and grippy soles to prevent falls on uneven ground. Starting with must-have essentials like a water bottle and sun protection will help you stay comfortable and safe throughout your journey.
Proper footwear with ankle support and grippy soles forms the essential foundation for safe hiking on uneven terrain.
Key gear essentials:
- Supportive shoes reduce joint pain and fatigue during longer hikes
- Trekking poles decrease knee impact by up to 25%
- Proper pole techniques help distribute your weight evenly across both legs
- Combined equipment lets you explore trails longer without discomfort
This setup gives you the freedom to hike confidently while protecting your joints for future adventures.
Recognize Pain and Fatigue Signals That Mean Turn Back Now
While proper gear helps prevent injuries, knowing when to stop hiking matters even more for your safety. Pain management starts with recognizing persistent joint or muscle discomfort, that’s your body demanding you turn around.
Fatigue awareness means monitoring your balance and mental sharpness throughout the trail. If you’re dizzy, short of breath, or nauseated, head back immediately.
Take regular breaks, but if rest doesn’t relieve your symptoms, that’s a clear signal. There’s no shame in turning back early.
Your independence depends on making smart decisions that keep you healthy enough to hike another day.
Take Frequent Rest Breaks to Protect Your Knees and Joints
Your knees and joints need regular recovery time during any hike, regardless of how fit you feel at the start.
Stop every 20-30 minutes to stretch and catch your breath.
These simple resting techniques protect your freedom to explore trails for years to come.
Smart break habits include:
- Drinking water to maintain joint lubrication and performance
- Stretching your legs to improve circulation and reduce stiffness
- Checking your energy levels to decide whether to continue
- Taking in the scenery to boost mental well-being
Understanding hydration importance is essential: your joints function better when you’re properly hydrated.
Listen to your body during each break.
Always Hike With a Partner and Share Your Route With Family
Solo hiking puts you at unnecessary risk, especially on unfamiliar trails or in remote areas.
Hiking safety improves dramatically when you’ve got a companion who can assist if you’re injured or lost.
Choose a partner whose fitness level matches yours, and keep each other motivated during challenging sections.
A well-matched hiking partner keeps pace with you and provides crucial motivation when the trail gets tough.
Before heading out, share your planned route and expected return time with family members.
This simple step in emergency preparedness guarantees someone will raise the alarm if you’re overdue.
Regular check-ins via text message provide peace of mind for everyone while you’re exploring the trails you love.
Check the Weather Forecast and Finish Your Hike Before Sunset
Before you lace up your boots, check the weather forecast for your hiking area and any changes expected throughout the day.
Weather alerts can signal dangerous conditions that’ll compromise your safety on the trail. You’ll want to know about incoming storms or temperature swings before you’re miles from your car.
Plan your hike around sunset timing to guarantee you’re back well before dark:
- Start early in the morning for maximum daylight
- Track your progress with a reliable navigation app
- Calculate your return time including rest breaks
- Build in a safety buffer of at least one hour
Finishing before sunset keeps you in control.