
Picking your first hiking trail doesn’t need to feel overwhelming. You’re basically looking at three simple factors: what you want to experience, how hard you want to work, and where you can actually go.
Most beginners make the mistake of choosing trails that sound amazing but turn into miserable slogs because they skipped the basics.
Here’s how to match a trail to your actual fitness level and goals, not just the Instagram photo you’re imagining.
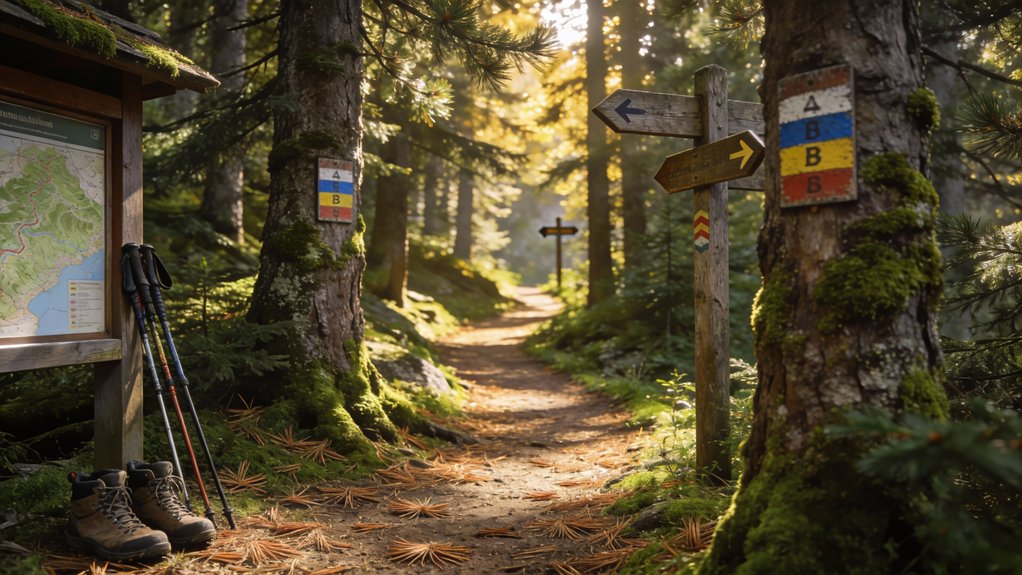
Choose Your First Trail by Activity: Scenery, Swimming, or Training
Your main goal determines which trail you should pick for your first hike.
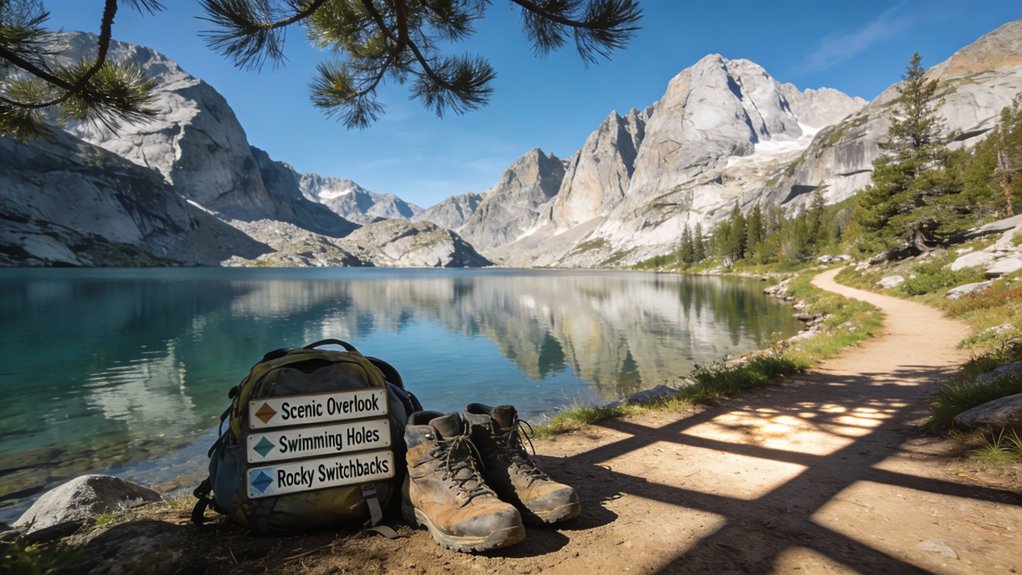
If you’re after scenic overlooks, target summit trails with significant elevation gain: the payoff’s worth the climb.
Want swimming spots? Choose trails leading to lakes or rivers, but verify seasonal water levels first.
For training, stick with 5-8 mile routes featuring under 500 feet of elevation gain.
Beginners should seek well-maintained paths with minimal climbing.
Don’t overlook seasonal bonuses like wildflower blooms or golden larches: they’ll make your trek more memorable.
Before heading out, complete basic preparation by reviewing trail maps, checking weather conditions, and informing someone of your plans.
Match the trail to your purpose, and you’ll have the freedom to enjoy it fully.
Assess Trail Difficulty: Distance, Elevation Gain, and Terrain
How do you know if a trail’s actually beginner-friendly or just marketed that way? Ignore vague trail ratings and check the numbers yourself.
Look for routes under 5 miles with elevation gains below 500 feet, that’s your sweet spot for breaking in. Strenuous hikes clock 3000+ feet of gain or stretch beyond 8 miles, so stay clear of those.
Under 5 miles and 500 feet of climb—that’s the beginner-friendly formula that actually delivers, not just empty marketing promises.
Terrain matters too: well-maintained paths beat rocky scrambles every time.
Here’s a solid beginner tip, aim for 500 feet of elevation per mile maximum.
Building your fitness through gradual strength training before tackling more challenging terrain will help you progress safely and enjoy increasingly longer hikes over time.
This approach keeps your first adventure challenging but manageable, giving you confidence for bigger trails ahead.
Find Beginner Trails Near You Using AllTrails and WTA
Knowing the numbers matters, but finding actual trails that fit those parameters takes the right tools.
AllTrails lets you filter by difficulty, length, and user ratings for smart trail selection anywhere.
Washington Trails Association focuses specifically on Washington State routes with detailed conditions and access info.
WTA requires no account, just browse freely. AllTrails needs registration for full features but works nationwide.
Both platforms show maps, photos, and user reviews that reveal what you’re actually getting into.
Check elevation profiles, trailhead directions, and seasonal notes on both sites.
Cross-referencing these resources gives you the complete picture before committing to any hike.
Verify Water Sources, Weather, and Current Conditions
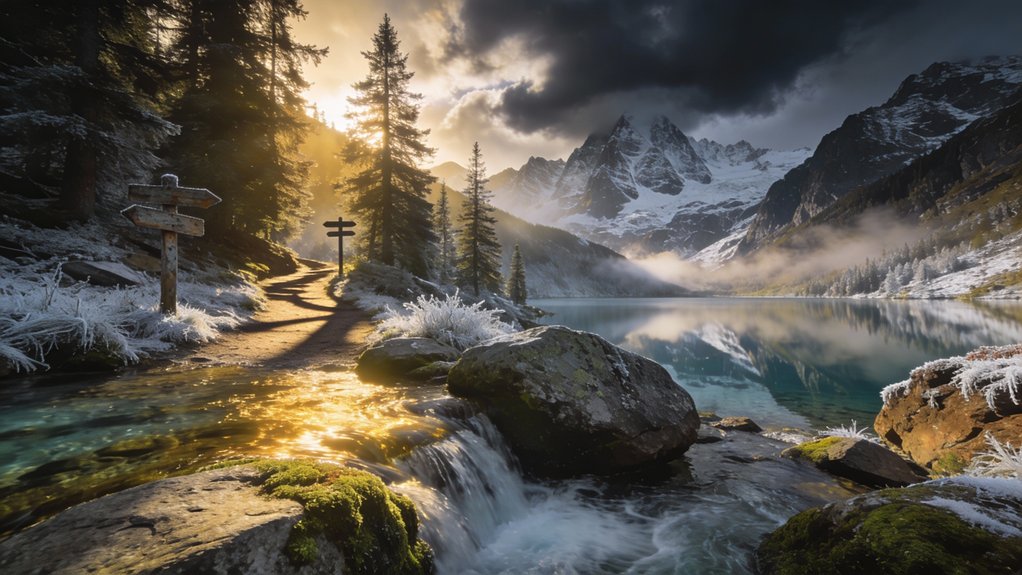
Why do experienced hikers obsessively check conditions right before they leave? Because mountains don’t care about your plans.
Water availability and weather impact can transform a pleasant hike into a survival situation.
Before you head out, verify:
- Water sources: Lakes and rivers are reliable; seasonal streams dry up unexpectedly.
- Weather forecasts: Mountain conditions differ drastically from town predictions.
- Trail conditions: Check ranger stations or apps for snow, mud, or storm damage reports.
- Winter hazards: Ice and avalanche risks require proper gear and experience.
Smart preparation keeps you free to enjoy the trail safely.
Start Within 90 Minutes for Easier Logistics and Safety
Distance from home matters as much as distance on the trail.
You’ll want emergency access if something goes wrong, and starting close means help arrives faster. Travel fatigue saps your energy before you’ve taken a single step, save your legs for actual hiking.
A 90-minute radius gives you options while keeping logistics simple.
You can check conditions that morning, bail if weather turns, or start earlier to maximize daylight.
Local trails tend to see more traffic, which means other hikers around if you need assistance.
Closer destinations equal more freedom to adjust your plans on the fly.